Uncategorized
Launching a technology project often means asking a key question: how do you transform an idea into a concrete solution that meets a precise need? The answer lies in the Minimum Viable Product (MVP), a simplified but functional version of your product, designed to quickly test its market potential. Here’s a practical five-step guide to moving from concept to action and creating your first MVP.
1. Identify the problem to be solved
Every MVP starts with a clear understanding of the fundamental problem you want to solve. Take the time to understand your target market and the challenges it faces.
- Ask yourself the right questions: What is the specific problem you want to solve? Why is it important?
- Our advice: Conduct customer interviews, analyze industry trends and study your competitors. These steps will help you validate that the problem is real and deserves a solution.
Example: A startup aiming to simplify inventory management for small businesses might find, through interviews, that their targets struggle to keep track of their inventories in real time, resulting in financial losses.
2. Prioritize essential features
Once the problem has been clearly defined, the next step is to identify the features needed to solve it. Keep in mind that your MVP should be limited to the essentials.
- Focus on added value: Which features directly address the identified problem? Avoid secondary elements or “extras” that unnecessarily complicate the product.
- Use methodologies like MoSCoW: Classify features into “Must-have”, “Should-have”, “Could-have” and “Won’t-have”.
Tip: Involve stakeholders (target users, internal teams) in this stage to ensure that priorities are aligned with real needs.
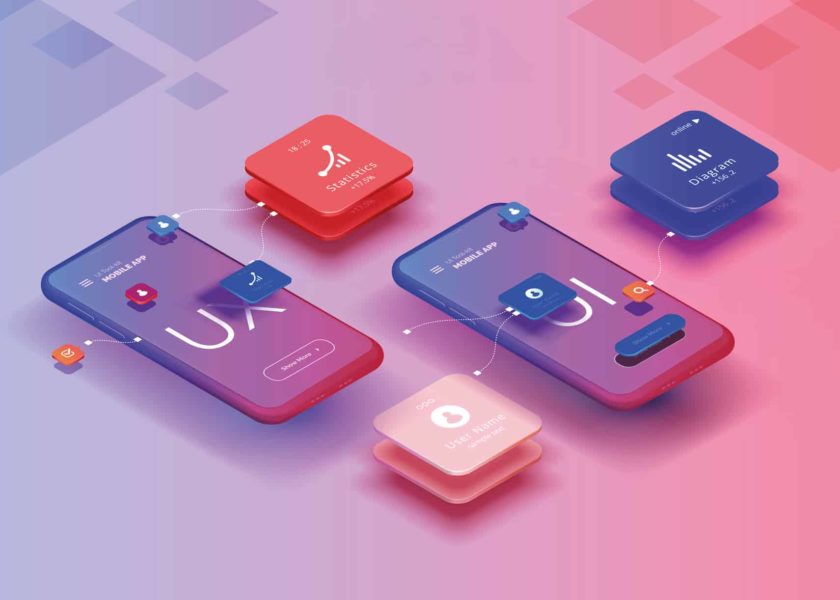
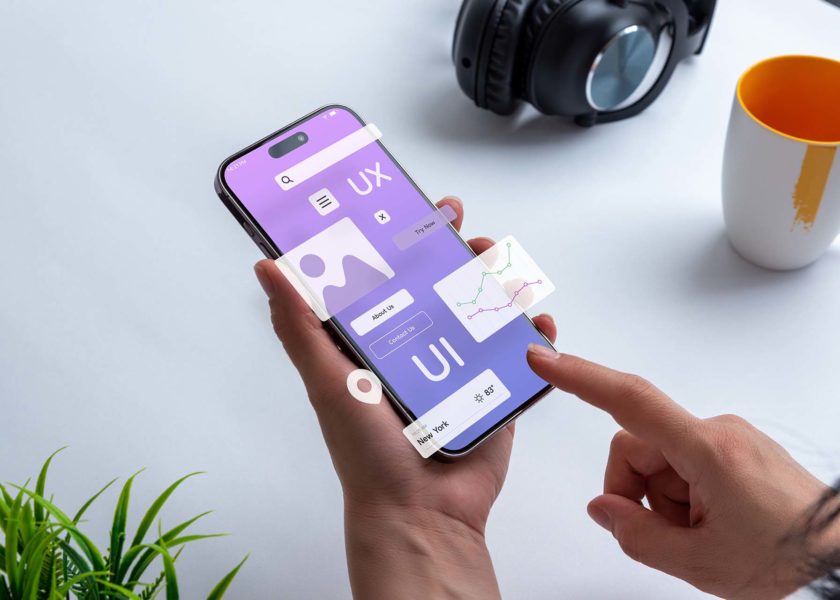
3. Create a rapid prototype
The prototype is a rudimentary version of your product that allows you to visualize and test your ideas. Unlike the MVP, the prototype is not intended to be used by your end customers, but serves as an intermediate step.
- The aim: to transform your ideas into a tangible mock-up, sufficiently developed to gather feedback on the product’s ergonomics and logic.
- Recommended tools: Use tools such as Figma, Adobe XD or Sketch for digital interfaces, or prototyping software for physical products.
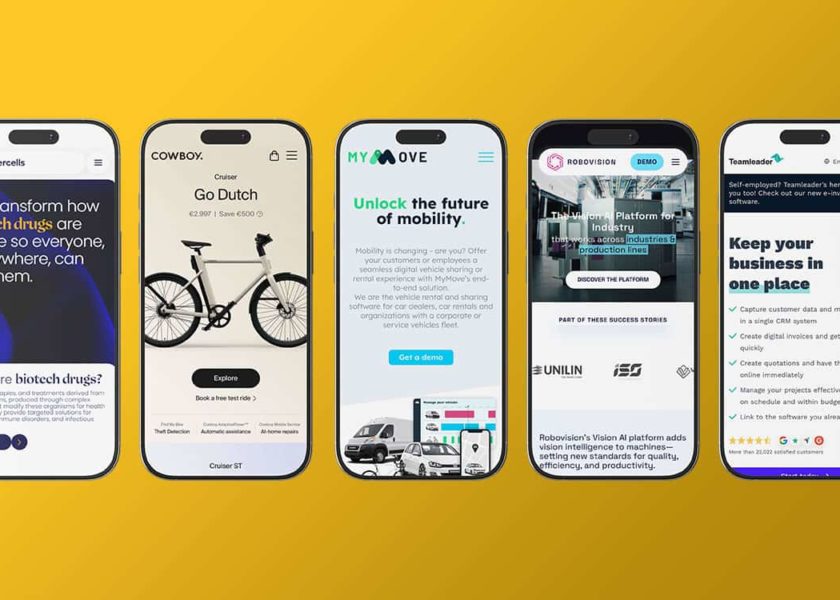
Example: An HR management platform could design a prototype dashboard to visualize employee absences, without yet integrating full functionality.
4. Developing your MVP
Once you’ve validated your prototype, it’s time to move on to the development of a functional product, i.e. an MVP ready to be used by real users. This stage transforms your mock-ups into an operational version.
Work with a dedicated team: Call on experienced developers capable of translating your ideas into a concrete product aligned with your strategic objectives.
Minimize complexity: Develop only the essential functionalities you have identified. The aim is to deliver a product quickly, not a perfect version.
Make the right technological choice: Depending on your needs, an MVP can be developed using approaches such as no-code, low-code, or even tools like an interactive Figma to quickly test concepts with reduced investment. Choosing the right technology from the outset is essential to ensure efficient, scalable implementation.
Tip: Maintain a constant dialogue with your technical team to ensure that priorities remain aligned. By working with a partner like DJM lab, you benefit from tailor-made support to choose the technology best suited to your MVP and ensure agile, functional and timely development, enabling you to quickly test your idea on the market.
5. Test with target users
Once your MVP is up and running, test it with a representative sample of your target users. The purpose of these tests is to check whether your product addresses the initial problem, and to identify any necessary adjustments.
Select a varied panel: Choose users corresponding to your ideal target, but with slightly different profiles from one another to gain diverse perspectives.
Collect qualitative and quantitative data: Combine direct observations, interviews and surveys to understand what works and what doesn’t.
Analyze user experience (UX): The aim is to identify friction points and assess whether essential functionalities are well understood and used.
Our advice: Don’t defend your product during testing. Listen carefully to the critics, and learn as much as you can from them.
6. Gather feedback and iterate
Testing is not the end of your process, but the beginning of a crucial phase: iteration. Use the feedback you gather to make targeted improvements to your product.
- Prioritize feedback: Not all feedback deserves immediate attention. Focus on the critical points identified by the majority of users.
- Apply an agile logic: Work in short cycles (sprints) to introduce successive improvements and test them quickly.
- Measure the impact of changes: Use clear metrics (conversion rate, customer satisfaction, user engagement) to assess the effectiveness of adjustments.
Example: A startup testing a project management tool might discover that users want mobile access. It could then add this functionality in a subsequent iteration.
Ready to take action?
Creating an MVP is both pragmatic and strategic. By following these six steps – identifying the problem, prioritizing features, prototyping, developing, testing and iterating – you’ll maximize your chances of success while minimizing the risks.
At DJM lab, we advise project owners on strategic choices related to the functionalities and development of their MVP. Thanks to our advanced technical expertise and experience in the field, we can help you design robust solutions tailored to real market needs, from prototype design through to the testing phases and implementation of a complete technological solution.